If you’re like most drivers, you probably don’t think about your fuel filter very often. But the fact is, this little component plays a big role in keeping your vehicle running smoothly. In today’s blog post, we’ll take a closer look at what a fuel filter does and why it’s so important. We’ll also discuss when it’s time to replace your fuel filter and how to go about doing that. So if you’re curious about this important automotive component, keep reading!
What is a fuel filter and what does it do?
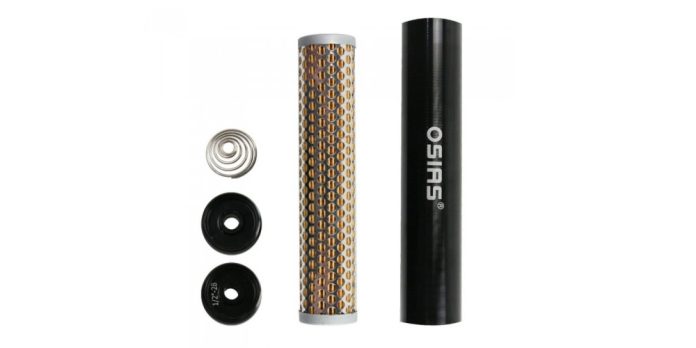
A fuel filter is a small, but important, component in your vehicle’s engine. Its job is to remove any impurities from the gasoline before it reaches the engine. These impurities can come from the gas tank, fuel lines, or even the pump itself. Over time, these impurities can build up and clog the fuel filter, causing problems with your engine.
Why is it important to have a functioning fuel filter?
It’s important to have a functioning fuel filter because it helps keep your engine clean. When the fuel filter gets clogged, it can cause a buildup of dirt and debris in the engine. This can lead to all sorts of problems, including decreased performance, reduced fuel efficiency, and even engine damage.
When should you replace your fuel filter?
Most experts recommend replacing your fuel filter every 30,000 miles or so. However, this interval may be shorter or longer depending on the make and model of your vehicle. It’s always best to consult your owner’s manual or a mechanic to be sure.
How to replace your fuel filter
replacing your fuel filter is generally a pretty simple process that most people can do themselves. However, it’s always best to consult your owner’s manual or a mechanic before attempting any car repairs.
Step One: Prepare Your Vehicle
Before you start, make sure your vehicle is in a safe and level area. Then, turn off the engine and disconnect the negative battery cable to prevent any accidents.
Step Two: Locate the Fuel Filter
The fuel filter is usually located near the gas tank or fuel lines. Consult your owner’s manual or a mechanic if you’re having trouble finding it.
Step Three: Remove the Old Fuel Filter
Once you’ve found the fuel filter, use a wrench to loosen the fittings and carefully remove it from its housing. Be careful not to damage the fuel lines when you do this.
Step Four: Install the New Fuel Filter
Now it’s time to install the new fuel filter. Simply reverse the process you used to remove the old one, making sure to not damage the fuel lines. If you don’t know which new fuel filter to buy, I reccomend taking the NAPA 4003 wix 24003 fuel filter cause it’s what I’ve used for my car and it works great.
Step Five: Check for Leaks
Once you’ve installed the new fuel filter, start the engine and check for any leaks. If there are none, you’re good to go!
Step Six: Dispose of the old fuel filter
Be sure to properly dispose of the old fuel filter according to your local laws and regulations.
The bottom line
In conclusion, it’s important to keep your fuel filter clean and replaced regularly in order to keep your engine running smoothly. Hope this article has been helpful in showing you how to do just that!


